By the way, if you read this and go 'ehm, no... I can't do that!!' then I can make em for you - either you supply the fabric, or I can source something in colours you like :) Message me for details!
So, here goes...
Fabrics to use: satins, chiffons of you like em sheer, georgettes for a bit more coverage. Light silks if you're feeling rich! Anything which drapes well and doesn't fall into stiff creases when you drop it in a puddle on the floor.
How much to buy? Well I look for 58" (148cm) wide fabric, as I use the width of the fabric to go around each leg - yes, really. 58" of fabric *around* each leg. My hip to floor measurement is 35", so I make my pants at least 6" more than that, so they puddle nicely on the floor over my foot. So for me, I buy 2x 41" PLUS another 7" which makes up the yoke (deep waistband) of the pants. So total, that's 89 inches or roughly 2.25m. So generally, I buy 2.5m and that's plenty.
Next, take a couple of measurements. Get someone to do these for you, it's much easier and more accurate!
- Measure your butt at its fullest, widest, bootiest bit. Add an inch (2.5cm) to that. That's the yoke length measurement.
- Measure from your hip, at the point where you want the top of your pants to sit, to the floor beside your foot. Stand up straight when you do this! Now add 4 to 6" to this - this is your hip to floor measurement.
Now you've got your fabric home, let's look at cutting it out...
First of all, from one of the short edges, cut a 7" (18cm) strip from the fabric, and put that to one side. That'll be used later for the yoke.
From what's left, cut two identical pieces which are the full width of the fabric, and are your hip to floor measurement long. So if your hip to floor is, for example, 45" (114cm), you'll cut two rectangles measuring 58" (148cm) by 45" (114cm). These are your legs.
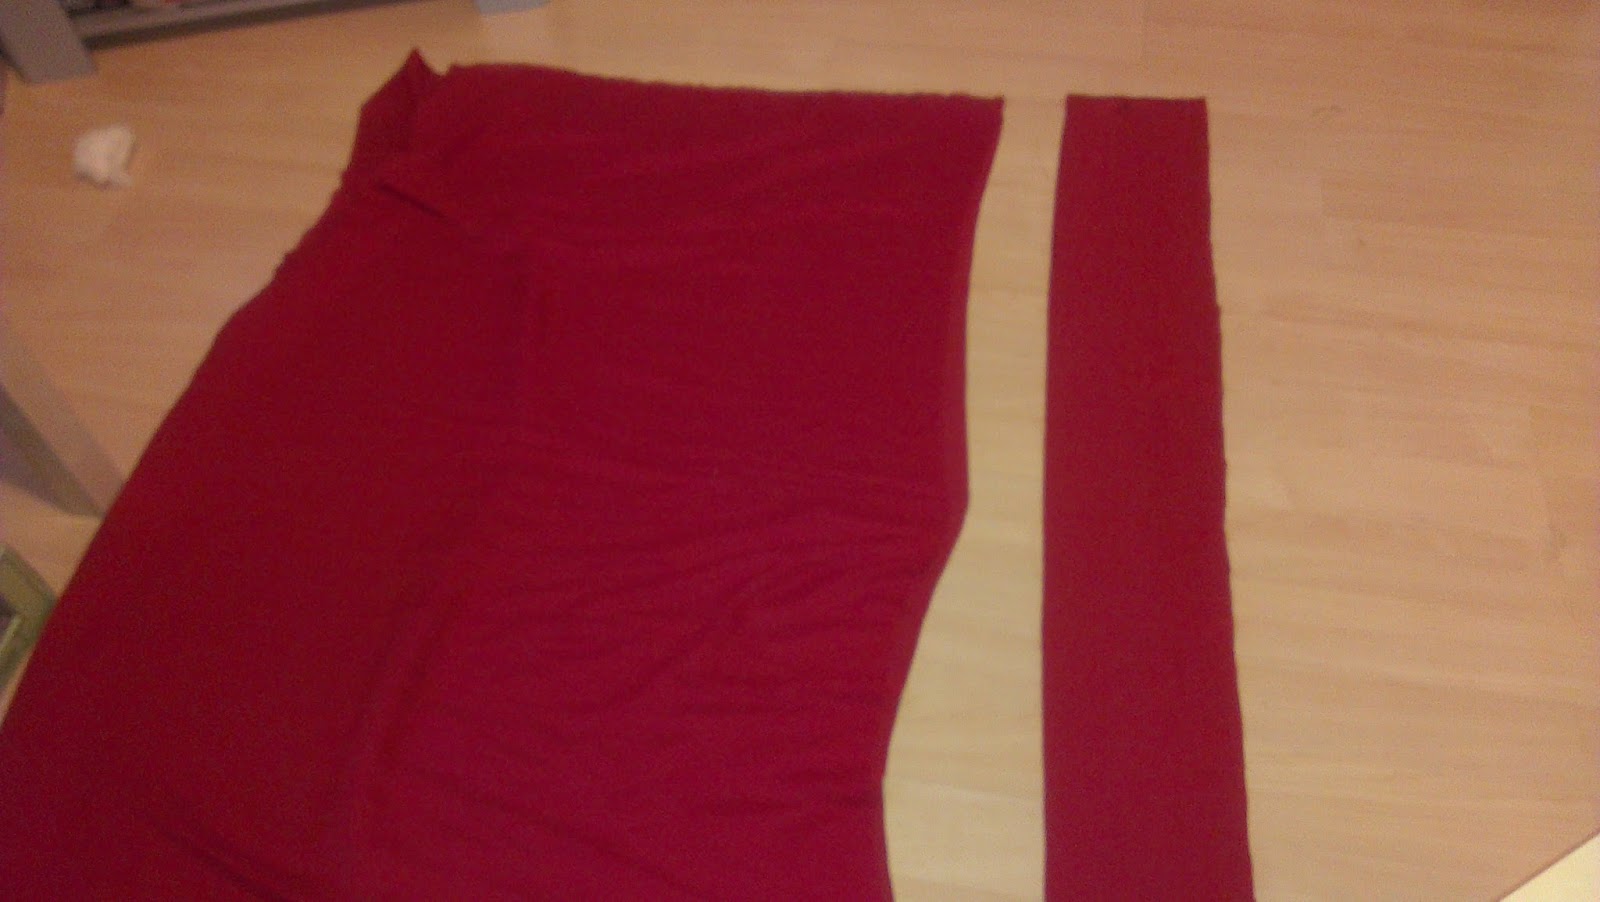 |
| Fabric cut out... legs on left, yoke strip on right |
With the right sides (the finished side) of your leg pieces together, pin the pattern, of mark a line, for your front crotch, and cut it out.
 |
| Front crotch cutout. Note how shallow a curve it is |
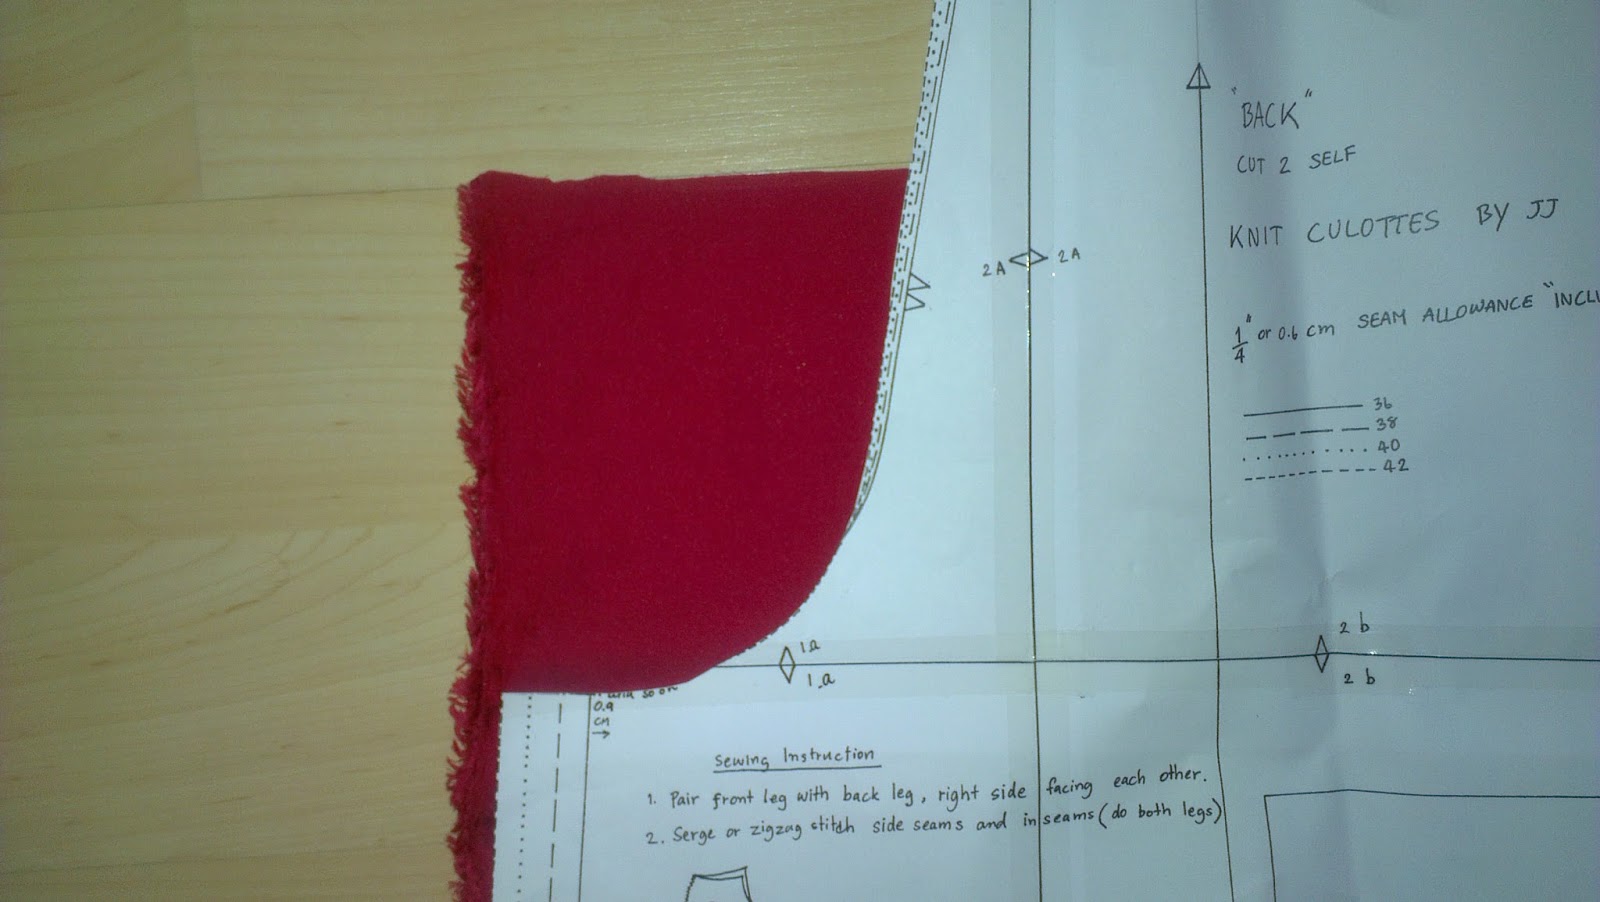 |
| Back crotch cutout. It's much fuller than the front crotch, to accommodate your booty! |
You should end up with something like this:
 |
| You can see the curvier back crotch is on the left, and the shallower front crotch is on the right |
With the right (finished) sides of the fabric together, line up the sides of the leg pieces, so you're making a giant tube, with the crotch cutouts at one end. Pin it together along the length, and sew it. I tend to use an overlock stitch or a zig zag, so you don't have to do anything with the edges of the fabric.
 |
| Pinned and ready to stitch |
 |
| All sewn up! That's one leg done... |
Turn one leg right way around, so the seam you've just sewn is on the inside of the tube. Now insert this right way round tube inside the other, wrong way round tube. So the right (finished) sides of the fabric are together. Line up the crotches of both legs, pin, and sew.
 |
| Lotsa pins! Tip: I start by lining up the crotch seams at the centre, where the leg tube seams meet, and pinning outward to each side |
 |
| Ta daaa! Sewn! |
 |
| Tee hee hee! Clown pants! |
First of all, what is a yoke? It's a deep waistband, basically. Why do I make my harems with a yoke? Well, it means you have minimal fabric under your scarves and belts and whatever gubbins you're gonna wear on top of these pants. It means you can control where the fabric lies when you're wearing the pants, so they don't all bunch up between your legs. And it's comfier to wear, especially if you make velvet harems. Can you imagine having 116 inches of velvet smooshed onto an elastic waistband around your hips? Toasty, much? And bulky? Yeah. Not ideal. Hence the yoke.
So, remember that 7" strip of fabric we set aside? Grab that, and trim it in length to your hip measurement (your yoke length measurement as I called it earlier).
Now, fold it in half along it's length with the WRONG (inside) of the fabric together, and press it with an iron so you've got a nice sharp crease along the length of the yoke. Like so...

See those bits you cut out for the crotch? Those are handy to test the iron on to make sure you don't melt/scorch/burn the fabric!! Also handy for testing stitch length and tension on (I am assuming you know how to do these kinda things... this is a harems tutorial, not a how to sew one).
Oh yeah, in the pic above, I'd already overlock stitched the short sides of the yoke. Just easier to do that before you press it!
Now open out the yoke, and with the right (finished) side of the fabric together, line up the crease you just pressed in at the short edges, and pin the short edges together.
Now, I do things in a somewhat odd and complex way here. It's long winded, but I have my reasons, and I'll try and explain it as I go along... this is just my personal preference here on how to make casing for the elastic in the yoke, if you have another way that makes more sense to you, do that by all means. This is just my way...
I measure from the pressed crease, 1.25" (so 3.2cm or so) on each side of the crease, and mark it with a pin. Then I stitch together the short edges of the yoke on either side of these pins - so it looks like this:
 |
| Before sewing. I'll sew from the left hand white pin, to the blue one, then leave it open between the blue one and the right hand white one, then sew from the right hand white one to the black one. The white pin in the centre marks the crease line |
 |
| After sewing, with the seam allowance pressed open. |
Why? Cos I like to have a neat opening for the elastic, and I leave that open so if the elastic needs to be tightened/slackened, it's a lot easier to do.
Now fold the yoke in half along the crease you pressed into it. This is optional, but I like it cos I think it helps stop the elastic from rolling/folding when you're wearing it. I sew a line of straight stitch all the way along the crease line, just a eighth of an inch (around 3mm) from the crease.
I then measure down from that line of stitching the width of my elastic, plus a wee smidge extra for ease of inserting the elastic. So if it's one inch elastic (25mm), I'll go an inch and an eighth (28mm). And stitch another line along this. I can stitch this all the way around, as I've left my casing open by not sewing the short edges of the yoke all the way across!
 |
| You can see the edge stitching, plus the bottom of the casing stitching, and the opening for the elastic. |
 |
| Centre back at top of pic, with the wee opening for the elastic |
Now to join yoke and legs...
Take your legs, right side out (seams are on the inside then, yeah!), and locate the centre back seam (look at the crotch to find sure the full, curvy bit - that's the back of the crotch, so that's the centre back seam!). Line this up with the centre back seam of the yoke, and pin them together. now you have options here on how neat you want to make them. If you don't care about how neat they are on the inside, pin both layers of the yoke to the top of the pants, and sew the pants to the yoke in one go. Or, if you want a neater finish inside, sew one layer of the yoke to the legs, then turn it under on the other side, and top stitch it. Your choice. I tend to do the neater option unless I'm pushed for time!
Line up the centre front of the legs with the crease you pressed into the yoke at the centre front (opposite the centre back seam) and pin.
Line up the side creases with the sides of the pant legs and pin.
We're gonna work on the front of the pants first... we need to take all the fabric between the centre front seam, and the side of the yoke/leg, and gather/pleat it in to the yoke.
Now, to reduce bulk between your legs, I do the following. I measure across my hip bones, and divide that by 2. Then I pin the yoke to the legs without any gathers or pleats that distance out from the centre front seam on either side. So you end up with pants that are very flat across the front of your body, and very full at the sides of your legs. Note, if you're really really wide hipped, you may want to play around with where you gather/pleat the fabric for best effect on your body shape.
So now you have the front of the yoke pinned to the front of the legs nice and flatly, you can start to work on pleating the fabric that's left between your hip bone and the side of the leg. It's really hard to explain this, but I do it by eye, not measuring, and just pinning pleats into the fabric until it's all gathered in and joined to the yoke. Maybe a pic will help!!
 |
| Pins a plenty! |
Do this either side of the centre front seam. now turn the pants around and work on the back, starting from centre back, pinning flatly half your hipbone measurement either side of the centre back seam, then pinning pleats in to gather up the rest of the fabric.
You could also box pleat them, which would look nice. Go google it if you dunno what I'm on about!
Here's the whole thing pinned and ready to sew...
 |
| So many pins, my hands were shaking!! |
Now sew the yoke to the legs. If you've gone for the neat option, you'll need to sew that all up as well.
You now have something which is recognisably a pair of pants. Hooray!!
All you have to do now is sew casings on the ankles for elastic, thread the elastic in the yoke and ankles, and you are done!
 |
| Yoke joined and topstitched. You can see the centre front seam to the right of the pic, and the nice flat bit before the pleats start at the hip bones |
 |
| Sewing the casing on the ankles... without pins. Pins are for pussies! Or people with more patience that me anyway... |
 |
| Waistband elastic fitted. The black bit peeking out makes for handy guide for putting them on - black to the back! |
 |
| Ankle casing all elastic'd up |
So yeah, that's them done. Thanks to the lovely and patient Meg as I used harems I was making for her for the photos in this tutorial. Now she can have them!
If you've any questions, or if you're thinking 'f*ck that, I can't make those', email me on monteith.creations@yahoo.co.uk, and I'll give you some help or we can arrange for me to make em for you!
No comments:
Post a Comment